Technical Guide · 2024-06-20 · 6 min read
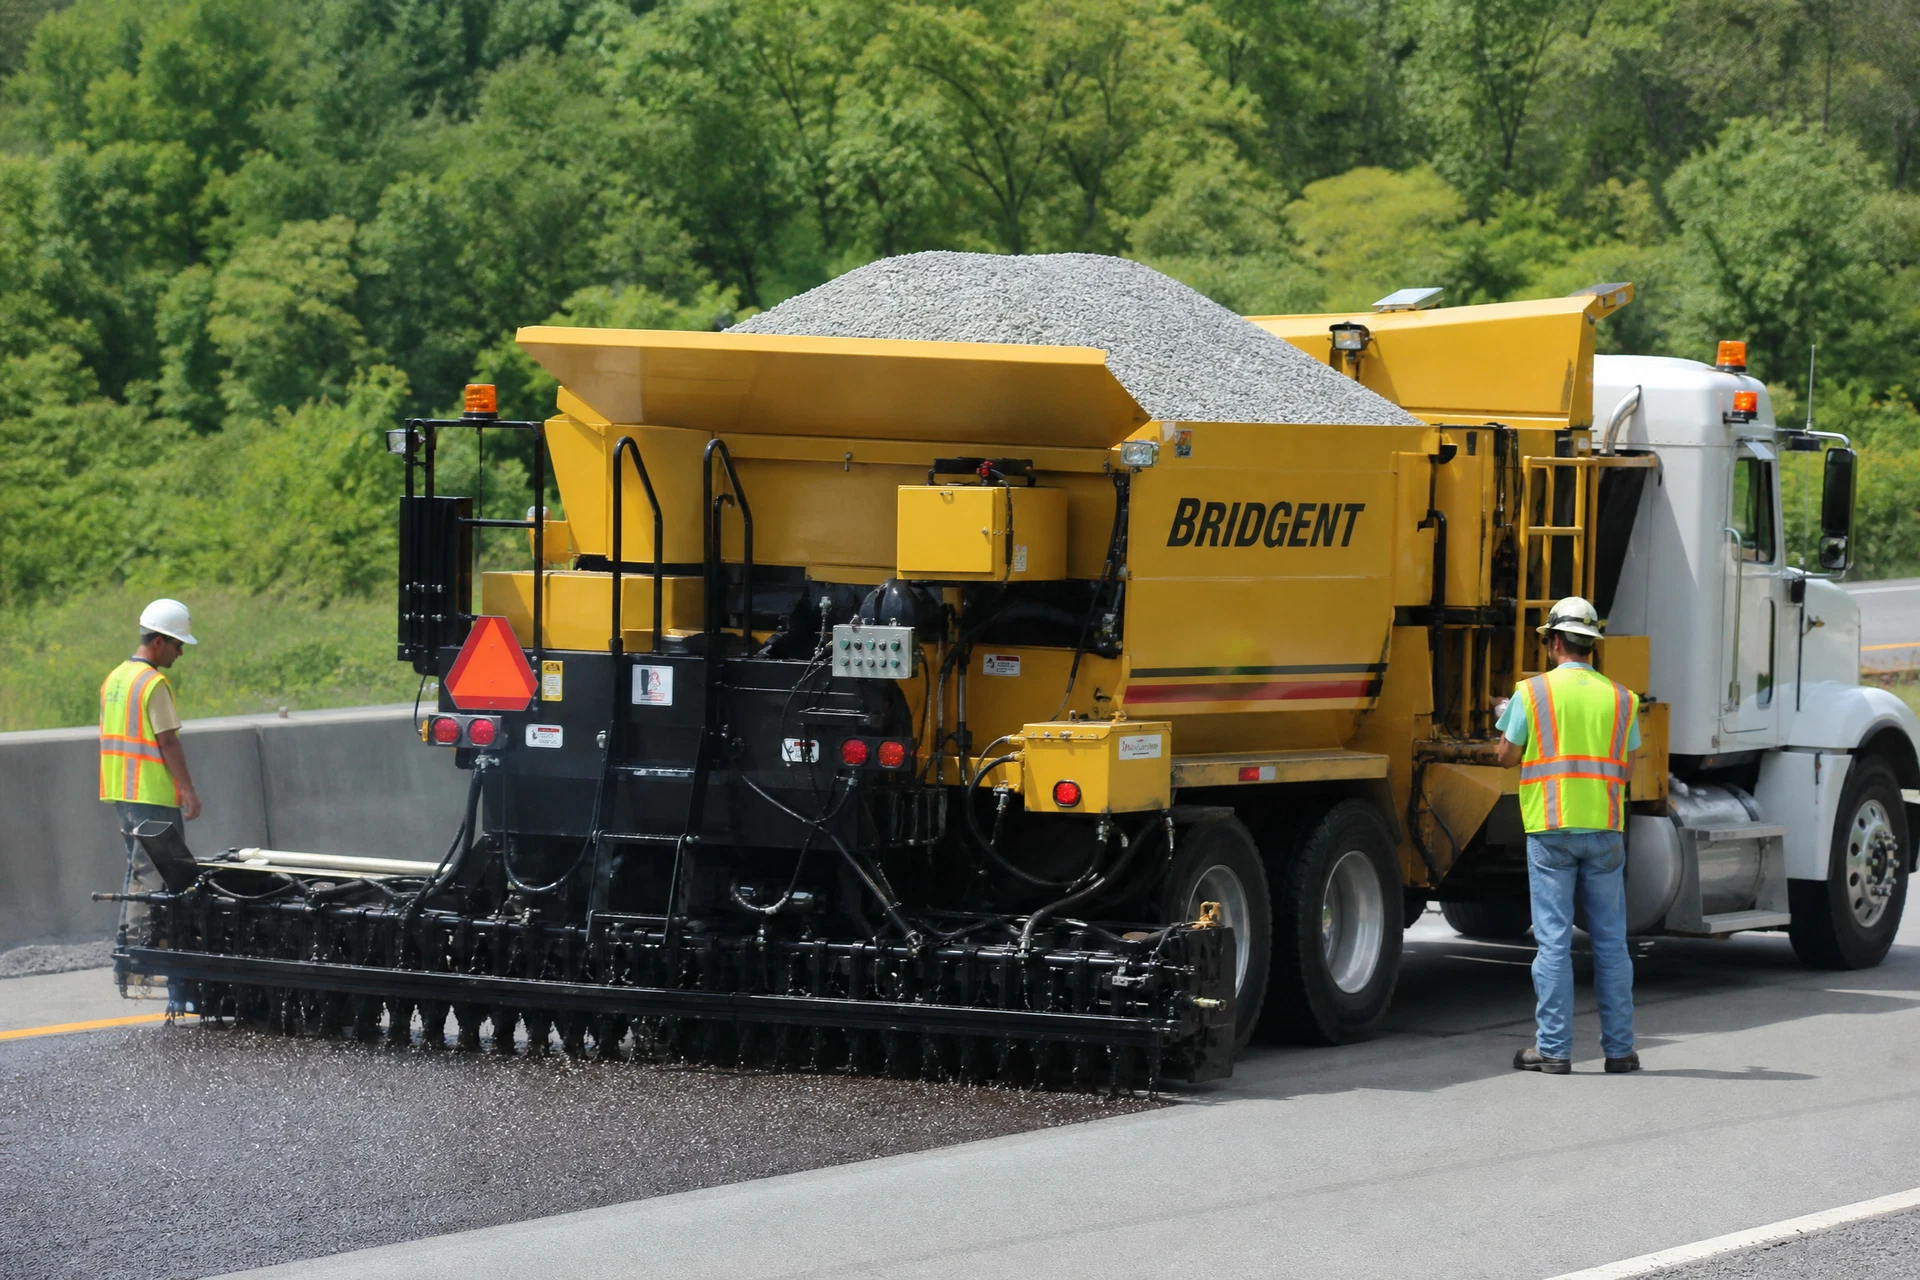
Micro-surfacing is a cold-mix, polymer-modified asphalt emulsion pavement preservation treatment applied to existing asphalt concrete pavements. It is a highly effective and economical solution for extending pavement life, improving skid resistance, and correcting minor surface deficiencies. However, the successful integration of micro-surfacing with pavement markings is a critical aspect that often requires careful planning and execution to ensure both durability and motorist safety.
This guide delves into the essential considerations for micro-surfacing pavement markings, covering compatibility, optimal timing for application, and best practices to achieve long-lasting, highly visible road markings.
Understanding Micro-Surfacing and Its Impact on Markings
Micro-surfacing involves a mixture of polymer-modified asphalt emulsion, aggregate, mineral filler, water, and additives. This mixture is spread in a thin layer (typically 10-20 mm) over the existing pavement surface. The polymer modification enhances the binder's flexibility, adhesion, and resistance to rutting and cracking, making it a robust surface treatment.
From a pavement marking perspective, the newly applied micro-surface presents a different substrate compared to conventional asphalt. Key characteristics influencing marking adhesion and performance include:
* Surface Texture: Micro-surfacing creates a new, often coarser, and more open-graded surface texture, which can affect the bond of certain marking materials. * Emulsion Curing: The asphalt emulsion needs time to break and cure, releasing water and volatiles. This curing process is crucial for the stability and strength of the micro-surface. * Chemical Composition: The polymer-modified emulsion can have different surface chemistry compared to aged asphalt, potentially affecting the adhesion of marking materials.
The Critical Waiting Period: Timing is Everything
One of the most frequently asked questions regarding micro-surfacing pavement markings is, "How long should one wait before applying new markings?" The timing is paramount and directly impacts the longevity and performance of the markings.
Why Waiting is Necessary
The primary reason for a waiting period is to allow the micro-surfacing material to fully cure. This curing process involves:
1. Emulsion Break: The asphalt emulsion separates into asphalt particles and water. This initial break typically occurs within hours. 2. Water Evaporation: The water component of the emulsion must evaporate from the mix. This process can take several days, depending on environmental conditions. 3. Polymer Development: The polymer network within the asphalt binder needs time to fully develop its strength and adhesive properties.
Applying pavement markings too soon, before the micro-surface has adequately cured, can lead to several issues:
* Poor Adhesion: Residual moisture or uncured emulsion can prevent marking materials from properly bonding to the surface, leading to premature delamination. * Bleeding: Asphalt components can bleed through the marking material, causing discoloration and reduced retroreflectivity. * Reduced Durability: The marking material may not withstand traffic stresses if the underlying micro-surface is not fully stable.
Recommended Waiting Times
Industry best practices and specifications typically recommend a waiting period of 7 to 14 days before applying permanent pavement markings after micro-surfacing. This timeframe allows for sufficient curing under most environmental conditions. However, several factors can influence this duration:
* Temperature: Warmer temperatures accelerate curing, while colder temperatures prolong it. * Humidity: High humidity slows down water evaporation. * Sunlight/Wind: Exposure to sunlight and wind aids in drying. * Micro-surface Thickness: Thicker applications may require longer curing times. * Traffic Volume: While the road can typically be opened to traffic within hours, heavy traffic can stress uncured surfaces.
For instance, in cooler, humid climates, the waiting period might lean towards the 14-day mark or even slightly longer, whereas in hot, dry conditions, 7 days might suffice. It is always advisable to consult local specifications and conduct field tests, such as a simple adhesion test, if there is uncertainty.
Pavement Marking Types and Adhesion to Micro-Surfacing
Not all pavement marking materials perform equally well on micro-surfaced roads. The choice of material significantly impacts adhesion, durability, and retroreflectivity. Here's a look at common types and their compatibility:
1. Waterborne Paint
* Description: A common, cost-effective marking material. It's relatively easy to apply and dries quickly. * Adhesion to Micro-Surfacing: Generally good, especially if applied after the recommended curing period. The porous nature of micro-surfacing can sometimes aid mechanical interlock. However, its durability is typically lower than other materials. * Considerations: Requires a clean, dry surface. Performance can be affected by moisture during application.
2. Thermoplastic Markings
* Description: A hot-applied material that forms a durable, thick film. It contains glass beads for retroreflectivity. * Adhesion to Micro-Surfacing: Can be excellent, as the hot material melts slightly into the micro-surface, creating a strong bond. However, excessive heat can sometimes damage the micro-surface binder if not applied correctly. * Considerations: Proper surface preparation is crucial. The application temperature must be carefully controlled. Bridgent Technology often recommends specific thermoplastic formulations designed for optimal adhesion to polymer-modified surfaces.
3. Epoxy Markings
* Description: A two-component system that cures chemically to form a very durable and long-lasting marking. * Adhesion to Micro-Surfacing: Excellent. Epoxy's strong adhesive properties allow it to bond well with various substrates, including micro-surfacing. It offers superior durability and chemical resistance. * Considerations: Higher cost and more complex application due to the two-part mixing process. Requires precise mixing ratios and specific curing conditions.
4. Preformed Tapes
* Description: Durable, factory-made marking materials that are adhered to the pavement surface. They come in various types, including durable and temporary. * Adhesion to Micro-Surfacing: Can be good, especially for high-performance tapes designed for rough surfaces. The adhesive must be strong enough to conform to the micro-surface texture. * Considerations: Surface cleanliness and proper compaction are critical for good adhesion. Some tapes may struggle with very coarse micro-sursurface textures.
Retroreflectivity Requirements and Maintenance
Retroreflectivity is paramount for nighttime visibility and motorist safety. Pavement markings must meet minimum retroreflectivity standards, often specified by agencies like the Federal Highway Administration (FHWA) or local departments of transportation.
How Micro-Surfacing Affects Retroreflectivity
Newly applied micro-surfacing can initially reduce the retroreflectivity of existing markings if they are not removed or if the new markings are not properly applied. The coarser texture of micro-surfacing can also affect how glass beads in new markings are embedded and exposed, influencing their retroreflective performance.
Best Practices for Achieving and Maintaining Retroreflectivity
* Proper Glass Bead Application: Ensure an adequate and uniform application of glass beads into the wet marking material. For thermoplastic and epoxy, the beads should be embedded to approximately 60% of their diameter. * Material Selection: Choose marking materials known for their retroreflective performance and compatibility with micro-surfacing. Some manufacturers, like Bridgent, offer enhanced retroreflective marking systems. * Quality Control: Regularly measure retroreflectivity using a retroreflectometer to ensure compliance with specifications. This is particularly important after initial application and throughout the service life of the markings. * Maintenance Cycles: Plan for re-marking cycles based on expected wear and retroreflectivity degradation, especially in high-traffic areas.
Handling Existing Pavement Markings Before Micro-Surfacing
The approach to existing pavement markings before micro-surfacing is crucial for the performance of the new markings and overall road safety.
Removal Methods
For critical markings (e.g., arrows, legends, stop bars) or areas where ghost markings would cause confusion, removal is often the best option:
* Grinding: Mechanical grinding removes the marking material and a thin layer of pavement. It's effective but can create grooves that might affect the new micro-surface or marking adhesion if not properly filled. * Shot Blasting: Uses abrasive media propelled at high speed to remove markings. It's less damaging to the pavement than grinding and creates a good surface profile for new markings. * Water Blasting: High-pressure water jets can remove markings, often without significant pavement damage. This method is environmentally friendly but can be slower.
Overlaying Existing Markings
For less critical longitudinal lines, micro-surfacing can be applied directly over existing markings. The micro-surface will obscure the old markings, and new markings will be applied on top. However, this approach has considerations:
* Ghost Markings: In some cases, especially with thick existing markings, a "ghost" image of the old marking might become visible over time, particularly under certain lighting conditions. * Adhesion: The micro-surface's adhesion to the old marking material might be less robust than to the pavement itself, potentially leading to localized delamination of the micro-surface.
It is generally recommended to remove existing markings that are thick, raised, or in critical locations to ensure the best performance of the micro-surfacing and subsequent new markings.
Best Practices for Successful Integration
To ensure the successful integration of micro-surfacing and pavement markings, consider these best practices:
1. Thorough Surface Preparation: Ensure the existing pavement is clean, dry, and free of debris before micro-surfacing. After micro-surfacing, ensure the surface is clean and fully cured before marking application. 2. Material Compatibility: Select marking materials that are known to adhere well to polymer-modified asphalt surfaces. Consult with material suppliers and manufacturers like Bridgent for recommendations. 3. Adherence to Curing Times: Strictly follow the recommended 7-14 day curing period for micro-surfacing before applying permanent markings. Adjust based on environmental conditions. 4. Proper Application Techniques: Ensure marking materials are applied according to manufacturer specifications, including temperature, thickness, and glass bead embedment. 5. Quality Control and Testing: Implement a robust quality control program, including retroreflectivity measurements and adhesion tests, to verify performance. 6. Coordination: Effective communication between the micro-surfacing contractor and the pavement marking contractor is essential to coordinate schedules and ensure proper timing.
Key Takeaways
Successfully combining micro-surfacing with pavement markings requires a strategic approach focused on timing, material selection, and meticulous application. Adhering to the recommended 7-14 day curing period for micro-surfacing is crucial for optimal marking adhesion and durability. Selecting marking materials like thermoplastic or epoxy, known for their strong bond to polymer-modified surfaces, and ensuring proper retroreflectivity will enhance safety. Careful consideration of existing markings and thorough surface preparation are also vital for a long-lasting and effective road infrastructure.
Discuss Your Project
Contact Bridgent for equipment specifications and a project-specific quotation.